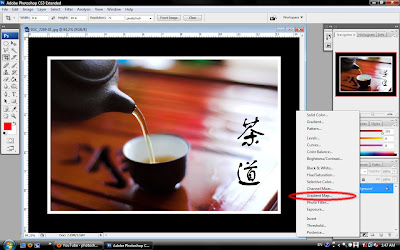
select gradient map. (click to see large image)
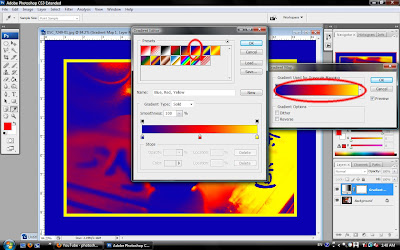
double click on the color bar, the gradient editor window will pop out, and then select the blue, red, yellow preset gradient. (click to see large image)
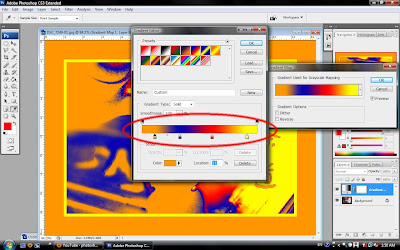
change the color bar into orange, blue, red and yellow, then click on ok. (click to see large image)
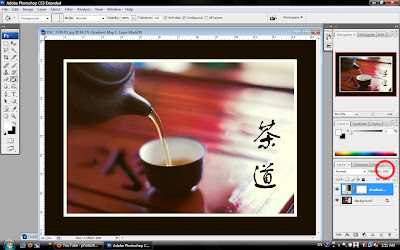
change the opacity into 10%. (click to see large image)
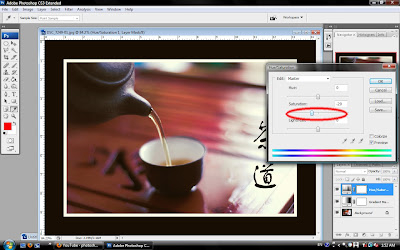
change the saturation into -20. (click to see large image)
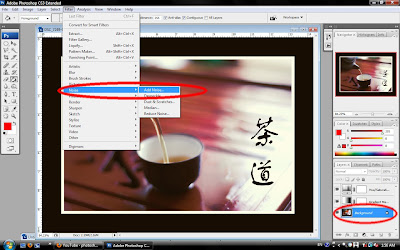
at the layer side, select the background. and then click on filter > noise > add noise. (click to see large image)
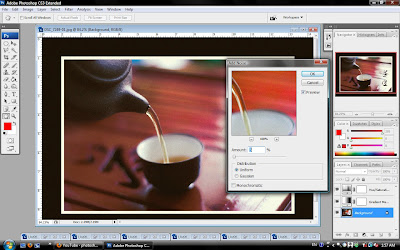
set the amount as 5%, done. (click to see large image)
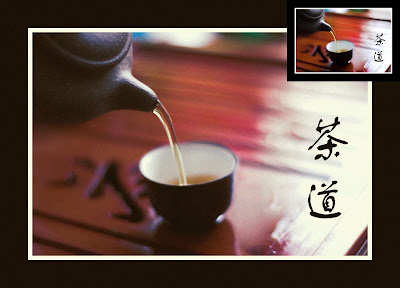






Never seen before the trick of the multicolored gradient map. For film effect simulation I usually work with AlienSkin Exposure or EyesMeal Film-Effect-Photoshop, both give very realistic results. Thanks for the tut!
ReplyDelete